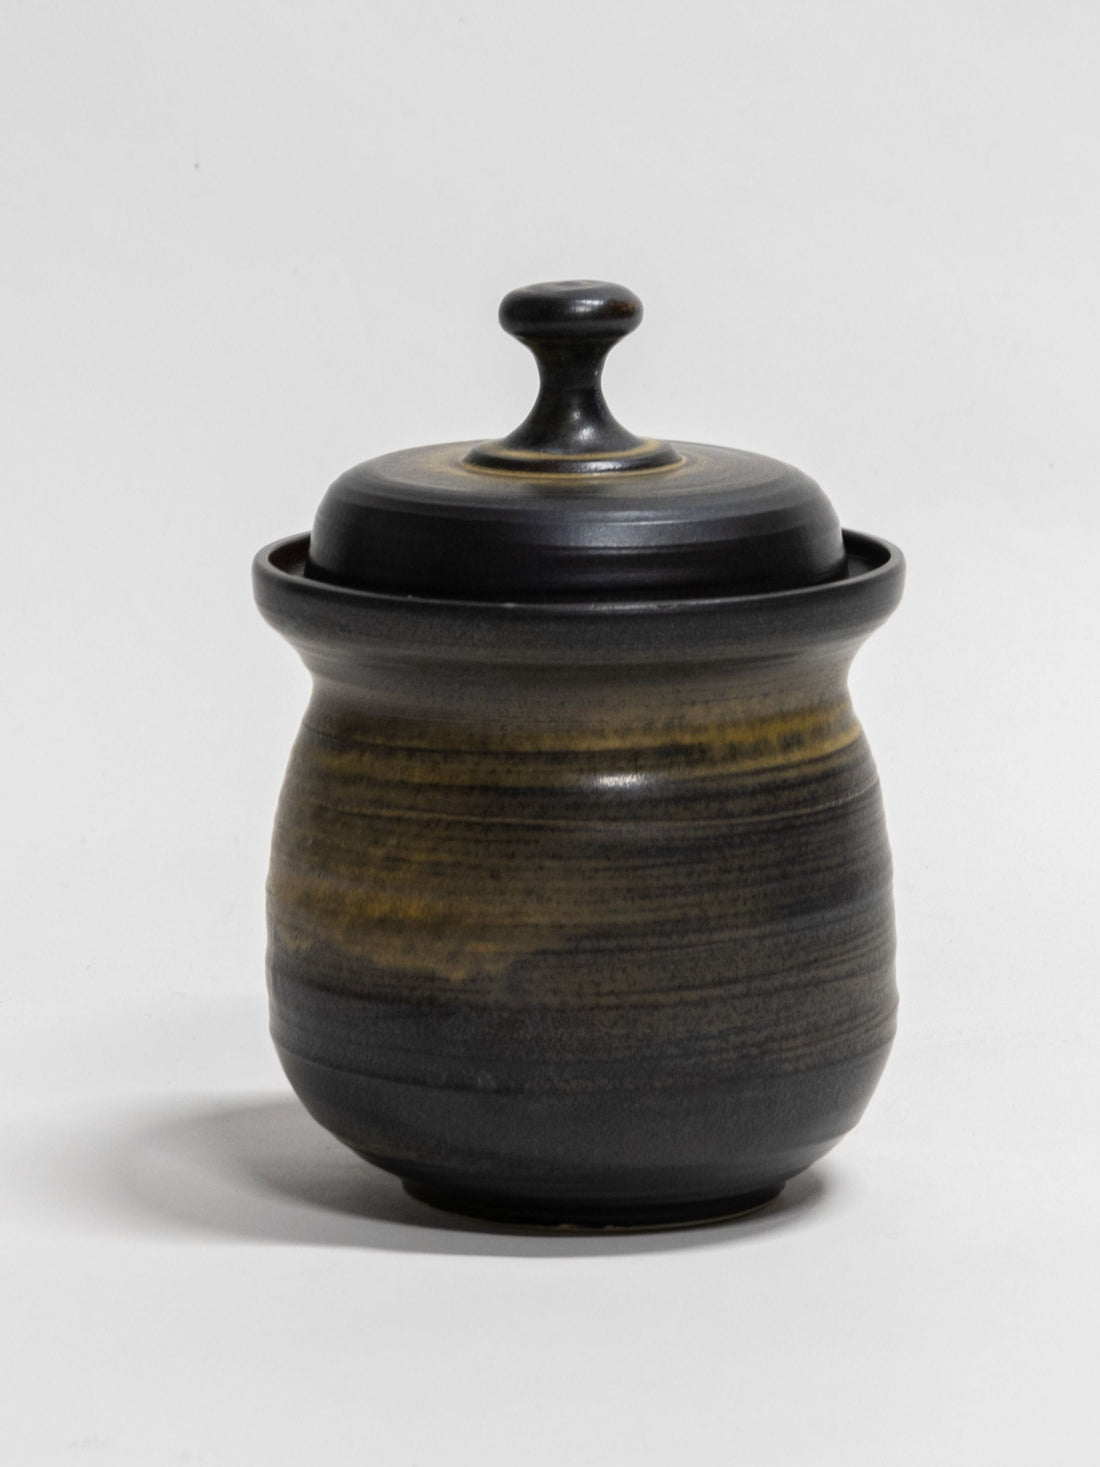
Fermenting at home is both rewarding and surprisingly easy—especially when you’ve got a beautiful ceramic fermentation pot! Here’s a quick guide to get started
1. Prep Your Ingredients
Clean and chop your veggies (cabbage for sauerkraut, cucumbers for pickles—or any other veggies you like!) and season with salt to draw out moisture and kickstart the brining process. Aim for a brine ratio of 20g salt to every Litre of water to keep bad bacteria at bay.
2. Load the Crock
Place your veggies in the crock, pressing them down firmly as you go. The goal is to eliminate air pockets so the brine can fully submerge everything.
3. Set the 4-Part Weights
The magic of our ceramic fermentation pots lies in the weights. These 4-part pieces are easy to arrange inside. Place the weights on top of the veggies to hold everything under the brine.
4. Seal the Deal
Add enough brine to cover the weights completely. Then, place the crock lid on top and pour water into the moat (the groove around the lid) to create an airtight seal. This prevents unwanted air while allowing gases from fermentation to escape.
5. Patience Pays Off
Store your crock in a cool, dark spot and let nature do its work. Most ferments take 1–4 weeks, depending on your recipe and taste preferences. Check occasionally to ensure everything stays submerged, and top up the water seal if needed.
6. Enjoy Your Creation!
Once fermented to your liking, transfer your goodies to jars and refrigerate. They’ll last for months and taste better with time.
Fermenting in a ceramic pot isn’t just a nod to tradition—it’s an easy, sustainable way to enjoy probiotic-packed food. So, grab your veggies, salt, and crock, and get fermenting!

